| Field | Value |
|---|---|
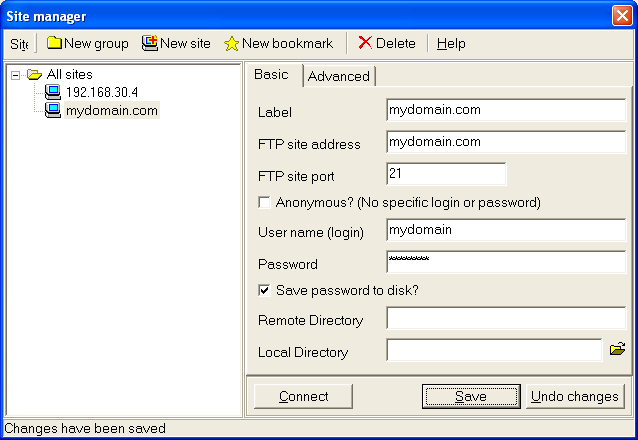
| FTP site address | Your domain name like yourdomain.com, or your IP address |
| FTP site port | 21 |
| Anonymous | Leave unchecked |
| User name (login) | Your username |
| Password | Your password |
| Save password to disk | Check this if you wish |
| Remote directory | Leave blank for now |
| Local directory | If you keep a mirror of the website on your computer, enter the path to that folder here or use the button next to it |